Match Infos
- Category: Guild Wars World Championship · Semifinals
- Guild hall: Druid's Isle.
- Defends: WM defends.
- Credits: Guild Wars Tomb.
Video
Capes


Note: some skill descriptions may have changed since this match was played. Highlight the skills with a red border to see these changes.
Quotes from players
How I would put it, we were thinking about builds @ 2AM to go fight The War Machine.. I mean The War Machine, by far best guild in GW's history. I guess we had that in our minds a bit too much. When we found out we could actually pull those wars off we basicly froze up sitting back trying to secure victory. In the first war we even had 1min and 30secs to simply go and kill there lord, no for some reason we froze up and stood up and watched WM taking the win. It's easy now to list up all the mistakes we did but while sitting in that chair... it's a whole lot of different things going on in your mind.
Deya (LuM)
I have to say VERY nice nerves WM has got, so confident with both monks dp'ed out.
The games were pretty much amazing... We suprised ourselfes how well we played in the start of both games, then got too scared to attempt offensive, and they clearly took advantage of it. Oh well... GG
Conzpi (LuM)
LuM had WM clearly dominated in both matches, but threw the games away which disappointed me. I think LuM will do better next time with some more experience under their belt at the next championship.
Kriegar (Te)
Match report
At the beginning of the game, WM pushed into LuM's base using the back door. LuM retreated back into their base using the front door, from which they had earlier exited, and surrounded WM and proceeded to kill three of four of them. After that both teams attacked the Flag Stand in the center and each inflicted heavy casualties on the other team.
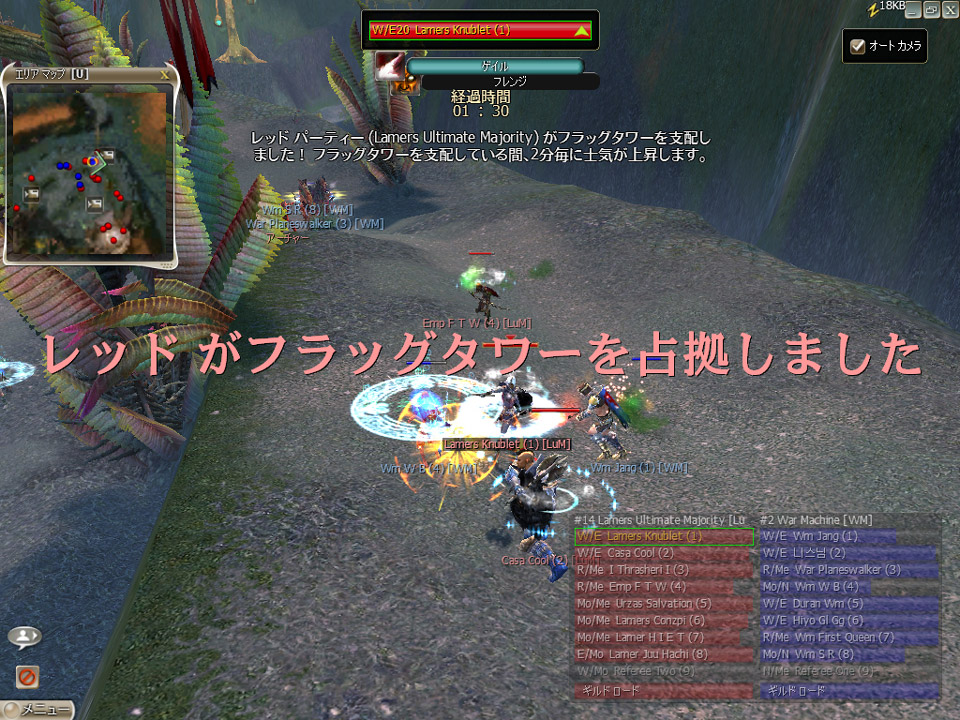
The battle continued to rage at the flag stand, with War Machine putting pressure on LuM by attacking the back of their base. Finally War Machine pushed into LuM's base. Again LuM inflicted heavy casualties and WM had to retreat, using a body block at the bridge to get their team out of LuM's base. By this time one of War Machine's monks had 60% DP and couldn't respawn. War Machine retreated to the Flag Stand and body blocked the enemy team's flag runner for about a minute in order to hold the Flag Stand and get a morale boost. War Machine didn't waste any resurrection signets; they allowed their people to respawn. War Machine inflicted some casualties on LuM and started pushing them back into their base. LuM swung around and captured the flag, and managed to hold it for a morale boost.
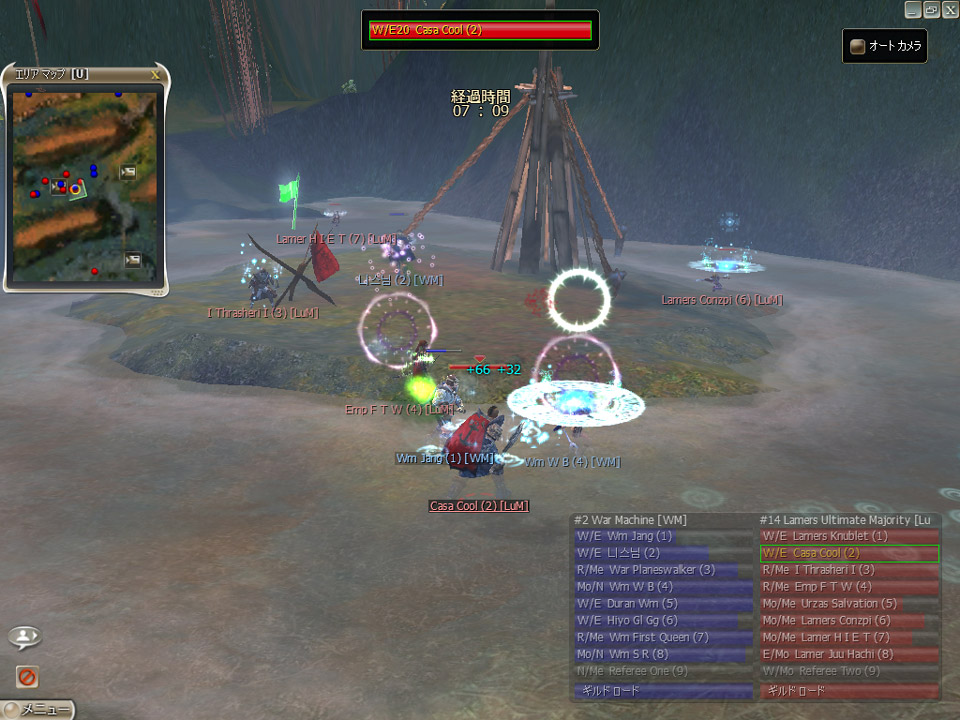
War Machine continued the attack on LuM's base, killing numerous NPCs and both bodyguards. LuM was again able to push War Machine out of their base, and continued to advance on War Machine, getting many kills as they pushed War Machine across the map. War Machine did a suicide run for the flag, with one runner advancing through seven defenders to capture the flag stand! War Machine's entire team respawned and they advanced again. War Machine pushed LuM back over the bridge, and the two teams engaged in a major battle at the bridge. For a few minutes the massive battle continued to rage at the bridge. LuM slowly picked off War Machine members one at a time, while War Machine failed to inflict any losses on LuM. LuM started the advance, pushing War Machine back into their base, with only three minutes left until Victory or Death.
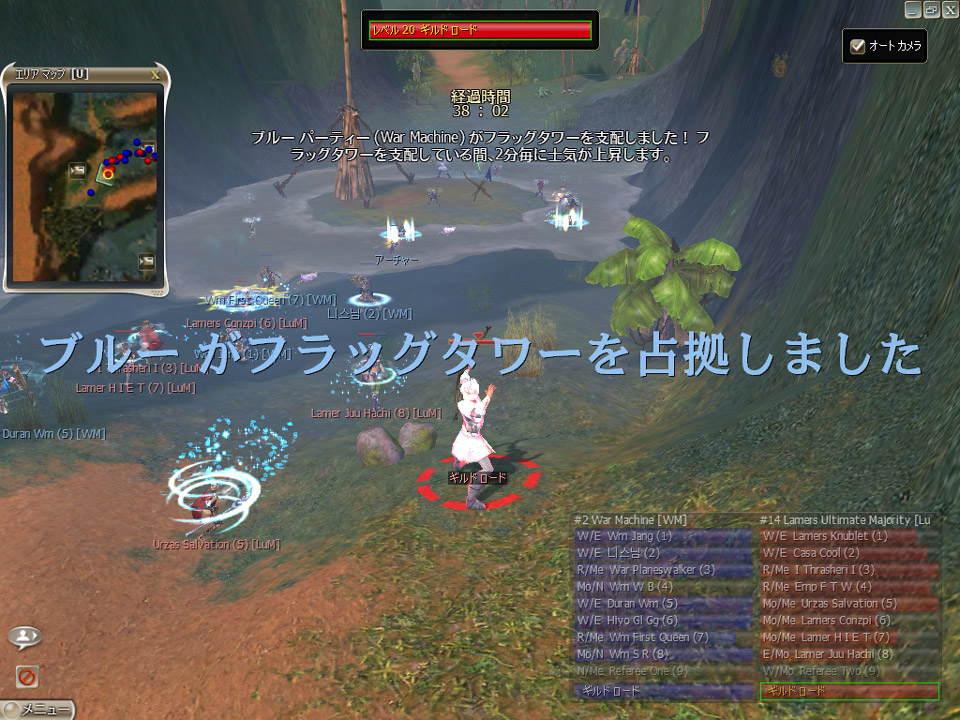
LuM continued to inflict kills as they pushed War Machine around the map. War Machine swept around and tried to kill as many LuM NPCs as possible before Victory or Death. As Victory or Death began at 30 minutes, neither team had received a morale boost for 15 minutes, and War Machine's two monks were both dead at 60% death penalty. But War Machine still had most of their NPCs alive, and LuM had to split their team, attacking War Machine and simultaneously defending against War Machine's NPCs. LuM killed both of War Machine's bodyguards. War Machine held the Flag Stand and received a morale boost at the 32 minute mark. War Machine started to attack LuM's guild lord. LuM sent back one of their Monks to defend, and War Machine used the opportunity to start pushing LuM back towards their base. War Machine received another morale boost at 34 minutes. At 35 minutes the NPC Guild Lords started their advance towards the center. War Machine brought the battle to LuM's Guild Lord, and the two teams fought furiously as LuM tried to keep their Guild Lord alive. War Machine repeatedly killed LuM's monks, and the tide started to turn in War Machine's favor. War Machine received another morale boost at 36 minutes. The Guild Lords continued marching towards the center of the map and the teams followed. War Machine had a major advantage fighting in the center since many of their NPCs were still alive. The battle raged on in the center of the map. WM killed all of LuM's monks and then turned on the Guild Lord, finally bringing LuM's Guild Lord down at the 39 minute mark.
~GuildWars.com